A multi-user cloud
Juju is great at deploying applications to the cloud, but it is even better when others can join in too!
In one of many potential examples, we are going to create a new controller, add models and invite other users to view and control them, just as you might within a development and staging environment.
For this example, we're going to use Amazon AWS, but you could just as easily use Google GCE, Microsoft Azure or any one of Juju's supported clouds.
Bootstrap the cloud
We start out by creating a new controller called shared:
juju bootstrap aws/eu-west-1 shared
Juju will give you feedback as this process is carried out, informing you that the controller has been created:
Creating Juju controller "shared" on aws/eu-west-1
With the controller created, we can add our first model. This is going to be
the staging model which additional users will be able to see, but cannot
change.
juju add-model staging
Next we should deploy a workload that the our new users can see. For our example, we're going to deploy Canonical Kubernetes:
juju deploy canonical-kubernetes
Create a user
Now we have a model containing a deployment worth appreciating, we can create a new user and give them viewing-only access to the model.
To start with, we need to add the user:
juju add-user newuser
Juju will respond by outputting a secret key like this:
User "newuser" added
Please send this command to newuser:

juju register MF8TCGRlZ3ZpbGxlMCkTEzUyLjIxMS44Mi4xMDY6MTcwNzATEjE3Mi4zMS4xNi41Nj
oxNzA3MAQgg1TmOS5QL8d0eU46dOd6_C5YYxduAmcPFTN6YAnnyhwTBnNoYXJlZAA=
This 'register' key will allow the new user access to the Juju controller we
created earlier. Send the juju register command, along with the key, to the
user (through secure channels!) and have them run it.
While you are waiting for them to receive and act on this message, we should prepare things for this user. At the moment, although the controller knows about them, they have no permissions to do anything at all. The admin user (that's you!) must explicitly grant permissions.
To allow this user to see the model we created, we should run:
juju grant newuser read staging
The new user will be able to access your model even if they don't have the credentials added for accessing the cloud. However, they will need credentials if at some future point they're given permission to create new models or controllers.
Access model as a user
After receiving the juju register command with the key, all your new user
needs to do is paste the command into their console. The output will be similar
to the following:
Enter a new password: *******
Confirm password: ********
Initial password successfully set for newuser.
Enter a name for this controller [shared]: shared

Welcome, newuser. You are now logged into "shared".

There are no models available. You can add models with "juju add-model", or you
can ask an administrator or owner of a model to grant access to that model with
"juju grant".
If the user lists the models available to them, they should now see the ‘staging’ model created previously:
juju models
Controller: shared

Model          Owner  Status     Access  Last connection
admin/staging  admin  available  read    never connected
They will need to manually switch to this to make it active:
juju switch admin/staging
The user can now launch Juju’s GUI in their default browser by entering juju
gui and using their username with the password defined when registering.
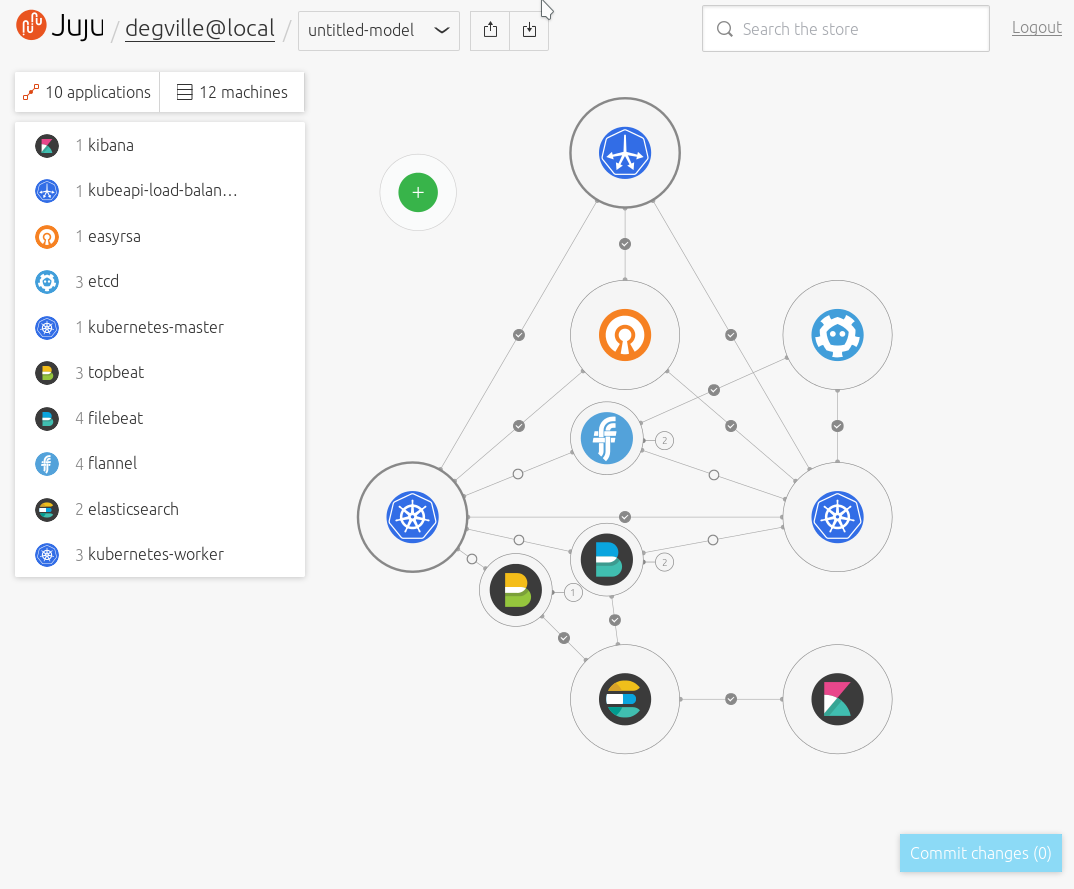
The GUI will show the Canonical Kubernetes application we deployed as the admin.

It is useful for the new user to see this model, but at the moment they can't do anything with it apart from look at it.
Our original admin user can create a new model and grant write access to it so they can deploy their own workloads:
juju add-model dev
juju grant newuser write dev
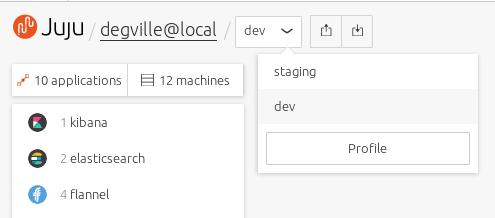
From the user's Juju GUI, the new model will appear beneath the model menu:

When the user switches to the ‘dev’ model, they’ll now be able to deploy applications and modify the model, just as they would be able to with models created on their own clouds.
To deploy Kubernetes into this new model from the GUI, for instance,
enter 'Canonical Kubernetes' into the search field, select the bundle that’s
listed then select ‘Add to canvas.’ Clicking on ‘Commit changes’ back on the
GUI’s canvas will deploy the bundle into the dev model and the user can now make
any changes or any further deployments as needed.
Removing permissions
If at some point the admin wants to remove a user’s access to a model, this can be done by either revoking a user’s access to a model or by disabling a user completely:
juju revoke newuser write dev
juju disable-user newuser
Note: A user can revoke write access for themselves and effectively lock themselves out of being able to modify a model.
With access revoked, the admin can now safely remove the model:
juju destroy-model dev