Using Rackspace with Juju
Juju already has knowledge of the Rackspace cloud, so unlike previous versions there is no need to provide a specific configuration for it, it 'just works'. Rackspace will appear in the list of known clouds when you issue the command:
juju clouds
And you can see more specific information (e.g. the supported regions and authentication types) by running:
juju show-cloud rackspace
If at any point you believe Juju's information is out of date (e.g. Rackspace just announced support for a new region), you can update Juju's public cloud data by running:
juju update-clouds
Adding credentials
The Cloud credentials page offers a full treatment of credential management.
Using Juju's interactive authentication, importing Rackspace credentials into Juju is a simple process. The only information you'll need is your Rackspace username, password and tenant name (which is actually a number):
-
usernameThe name used to login to the Rackspace cloud control panel. -
passwordThe password used to login to the Rackspace cloud control panel. -
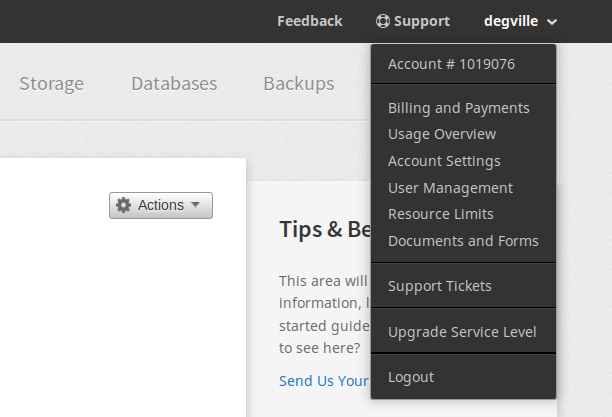
tenant-nameThe Rackspace account number. You can view this in the cloud control panel in the top-right corner (under your username), as shown in the following image:
Credentials can now be added by running the following command:
juju add-credential rackspace
The first question will ask for an arbitrary credential name, which you choose
for yourself. This will be how you remember and refer to this Rackspace
credential in Juju. The second question will ask you to select an 'Auth Type',
with the options being either access-key or userpass.
Enter userpass as the authentication type and then enter your username,
password and tenant-name, as described above.
You can now start using Juju with your Rackspace cloud.
Creating a controller
You are now ready to create a Juju controller for cloud 'rackspace':
juju bootstrap rackspace rackspace-controller
Above, the name given to the new controller is 'rackspace-controller'. Rackspace will provision an instance to run the controller on.
The controller will now be visible in the Rackspace cloud control panel:

For a detailed explanation and examples of the bootstrap command see the
Creating a controller page.
Next steps
A controller is created with two models - the 'controller' model, which should be reserved for Juju's internal operations, and a model named 'default', which can be used for deploying user workloads.
See these pages for ideas on what to do next: