Juju GUI
Juju has a graphical user interface (GUI) available to help with the tasks of
managing and monitoring your Juju environment. The GUI comes with every
controller providing the controller was not created with the --no-gui option.
It is installed via a charm but will not show up as a normally deployed
application.
Using the GUI
To view the URL and login credentials for the GUI, use the following command:
juju gui
This will produce output similar to the following:
GUI 2.3.0 for model "admin/default" is enabled at:
  https://10.55.60.10:17070/gui/eb49fea6-6543-4238-81cf-9fc2ff2e692d/
Your login credential is:
  username: admin
  password: 1d191f0ef257a3fc3af6be0814f6f1b0
If you don't want to copy and paste the URL manually, typing juju gui
--browser will open the link in your default browser automatically.
Note: If you are deploying behind a firewall, make sure to check out the charm's README for more information on getting the GUI up and running and talking to your environment.
Your browser will give you an error message when you open the URL warning that the site certificate should not be trusted. This is because Juju is generating a self-signed SSL certificate rather than one from a certificate authority (CA). Depending on your browser, choose to manually proceed or add an exception to continue past the browser's error page.
After opening the Juju GUI URL, you are greeted with the login window, where
you will have to provide the credentials to access the model. These
credentials can be copied from the output of juju gui.
If you'd rather not have your login credentials displayed in the output of
juju gui, they can be suppressed by adding the --hide-credential
argument.
Monitoring
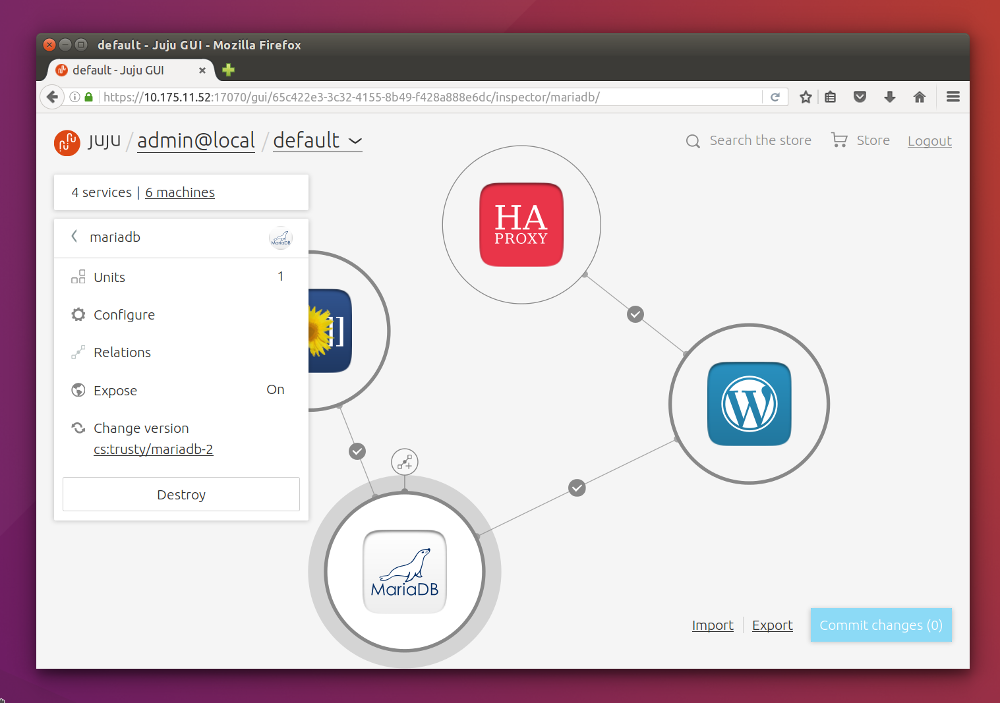
The GUI connects to the model that is currently active, and one of the primary uses for the GUI is that of monitoring. The GUI provides not only an overview of the health of your environment and the applications comprising it, but also details of the units and machines comprising those applications.

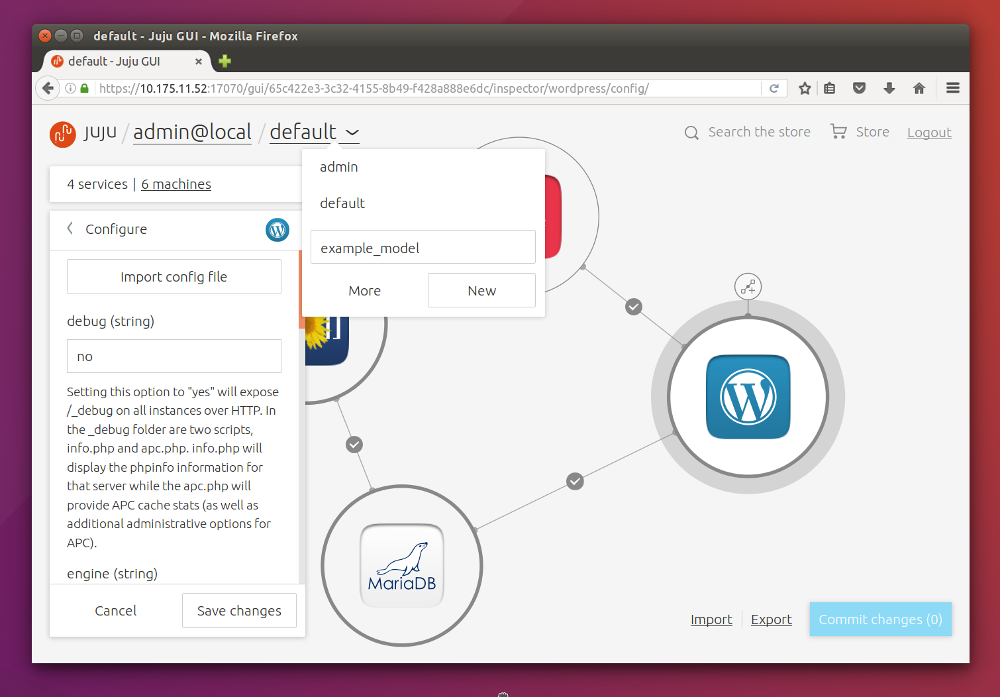
The rings represent applications running on the current model and by selecting the application, you can also see a more in-depth list of units and their states, as well as further information about them such as their relations, whether they are exposed and other details. Using the drop-down menu to the right of your username at the top, you can also use the GUI to create and switch between your various models.

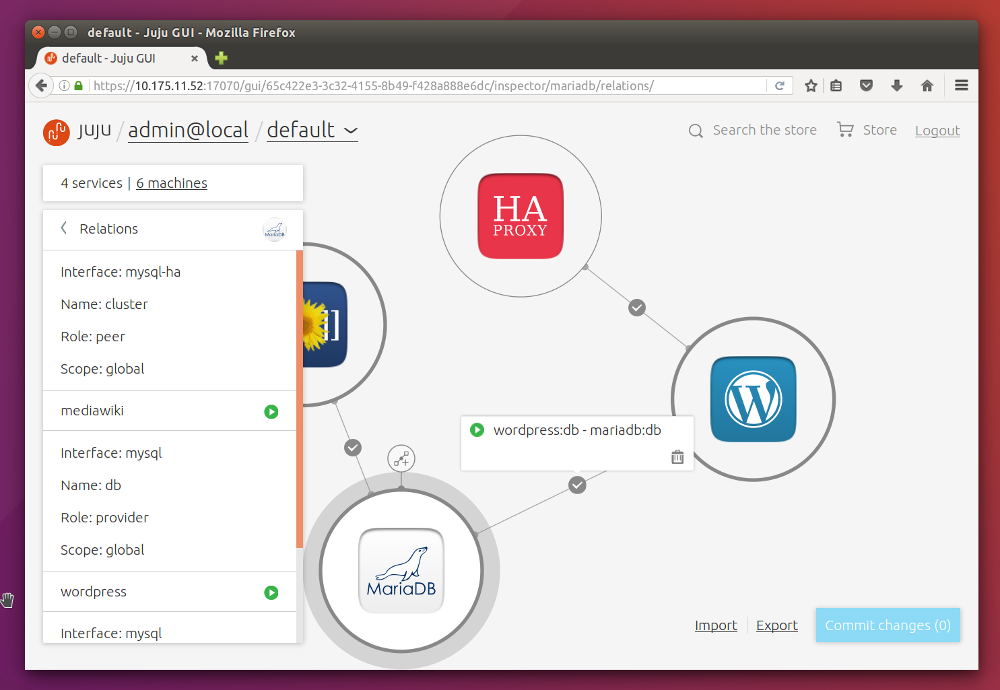
The GUI can be used to offer insight into not only the status of your cloud deployment, but also the overall structure of your applications and how they are related, adding to the ability to visualise the way in which all of the components of your project work together.
Building
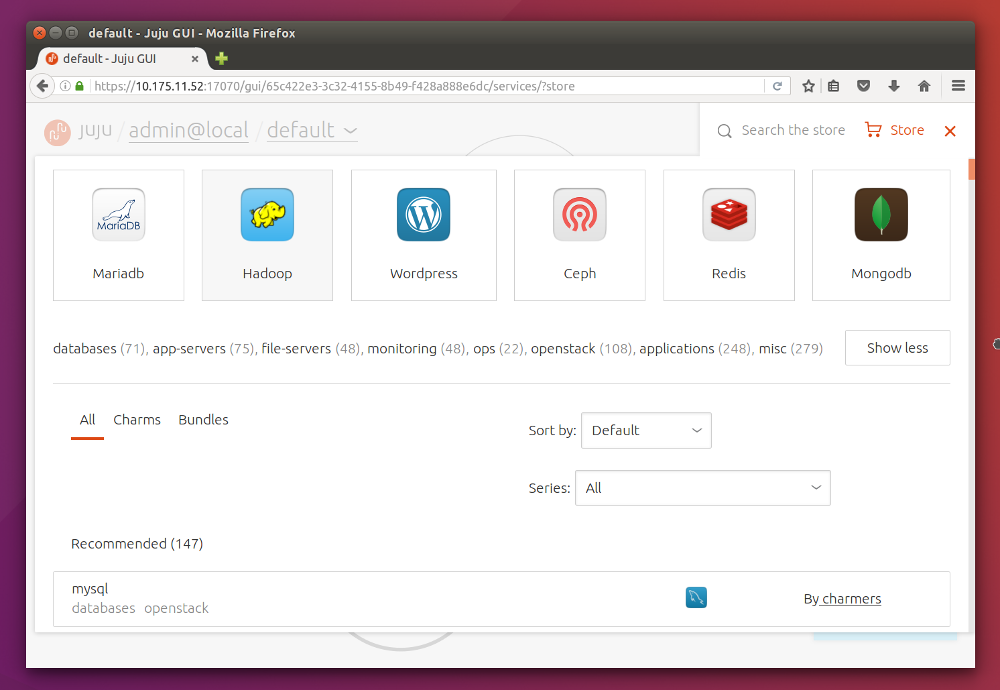
Another use for the GUI is building and managing a model in an intuitive and graphical interface. The GUI gives you access to all of the charms in the Charm Store, allowing you to deploy hundreds of different applications to your environment, or even to a sandbox environment, which you can then export to use later.
Clicking on the 'Store' button will give you access to all the available charms. Selecting an individual charm will provide further details about the charm, including a general overview, its relations, which files it includes and any recent updates. From here, you can add the charm to your environment by clicking 'Add to canvas' which will then give you the option to configure and deploy a new application.

Once deployed, clicking on the application will allow you to not only view the units and machines comprising it, but also to scale the application out or back, change constraints on new units, re-configure the application, resolve or retry units in an error state and more.
Relations can be added between applications - even in the case of ambiguous relationships, such as a master or slave database - by clicking the 'add relation' menu item on one application, and then clicking on the destination application.

The GUI will attempt to position applications automatically so that they do not overlap. However, you may drag the applications around the canvas so that they are positioned in a way that makes sense to you. These positions are stored in your Juju environment, so the next time you open the GUI, things will be as you left them.
Upgrading Juju GUI
The upgrade-gui command downloads the latest published GUI from the streams
and replaces the one on the controller. To verify which versions of the GUI
are available before the upgrade, try juju upgrade-gui --list.
If you want to upgrade (or downgrade) to a specific version of the GUI, provide the revision as a parameter to the upgrade-gui command, where the revision listed by the juju upgrade-gui --list. For example:
juju upgrade-gui 2.1.1
If you'd like to try a version of the GUI that has not been published in the streams and is not listed yet, you are able to provide the blob either from a charm or from the manually built GUI. For example:
juju upgrade-gui /path/to/release.tar.bz2
In order to upgrade the GUI, you'll have to have proper access rights to the controller. When an administrator upgrades the GUI, the users will have to reload the open sessions in the browser.
Manual Installation
If you opted to not install the Juju GUI when bootstrapping the controller, manual installation works the same as installing any other charm:
juju deploy juju-gui
juju expose juju-gui
Once the software is deployed and exposed, you can find the address for the GUI
by running juju status and looking for the public-address field for the
juju-gui.
You can also deploy the GUI along-side another application on an existing machine. This might be the case if you wish to conserve resources. The following command will deploy juju-gui to an existing machine 1:
juju deploy --to 1 juju-gui
juju expose juju-gui
Check juju help deploy to find out more about this option, and whether or not
it is available in your version.
Configuration
There are a few pertinent configuration options that might help you when working with the GUI. You can read about all of them on the GUI's charm page, but there is one that is worth discussing immediately:
read-only
This option will cause the GUI to display applications, units, and machines, along with all of their metadata, in a read-only mode, meaning that you will not be able to make changes to the environment through the GUI. This is good for a monitoring type scenario.
Note: read-only mode in the GUI simply prevents actions taken within the GUI from being sent to Juju, and is not additional security against the Juju API.