Create a Google Compute Engine controller
Juju is unrivalled in its ability to model and deploy dependable cloud distributed applications. To prove this, we're going to use Juju to deploy one such application - MediaWiki - with Google Compute Engine (GCE) in less than 10 minutes. But you could just as easily use Amazon AWS or Microsoft Azure, and just as easily deploy Kubernetes, Cassandra or even OpenStack. It's the magic of Juju that makes it happen.
Note: If you already have a controller, such as the one created in the Getting started with Juju and LXD page, this new controller will be seamlessly added alongside.
Installation
First, install Juju, if you have not done so already. See the install docs.
Pick a cloud
Type juju clouds and you'll see output very similar to the following:
Cloud        Regions  Default          Type        Description
aws               14  us-east-1        ec2         Amazon Web Services
aws-china          1  cn-north-1       ec2         Amazon China
aws-gov            1  us-gov-west-1    ec2         Amazon (USA Government)
azure             26  centralus        azure       Microsoft Azure
azure-china        2  chinaeast        azure       Microsoft Azure China
cloudsigma         5  hnl              cloudsigma  CloudSigma Cloud
google             9  us-east1         gce         Google Cloud Platform
joyent             6  eu-ams-1         joyent      Joyent Cloud
oracle             5  uscom-central-1  oracle      Oracle Compute Cloud Service
rackspace          6  dfw              rackspace   Rackspace Cloud
localhost          1  localhost        lxd         LXD Container Hypervisor
As mentioned, we're going with Google's Cloud Engine, which we'll configure over the next couple of steps. But you could just as easily use Amazon AWS or Microsoft Azure, or any of the listed clouds you have credentials for.
Download GCE credentials
All you need to get started with GCE and Juju is a JSON-formatted credentials file for a new Compute Engine API-enabled project. Either sign up for a free trial, or connect to your GCE dashboard. If needed, see our GCE Create a Project documentation for further help.
Add credentials
Copy the credentials file somewhere sensible, such as
'~/.local/share/juju/gcejuju.json,' and initiate the import process by typing
juju add-credential google. You'll first be asked for an arbitrary name
to identify the credentials with, followed by a prompt asking for 'Auth
Type'. Press return to select the default jsonfile* type and then enter the
absolute path to the credentials file:
Enter credential name: juju-demo
Auth Types
jsonfile*
oauth2

Select auth-type:
Enter file: /home/graham/.local/share/juju/gcejuju.json
Credentials added for cloud google.
You can now start using Juju with your GCE cloud.
Bootstrap Juju
Pushing Juju onto your new cloud is as simple as typing:
juju bootstrap google mycloud
This should only take a few minutes. You could use this time to brush up on some Juju terminology.
Create a model
Before deploying an application, we're going to first create a new model. Models are used by Juju to group applications, resources and their relationships into environments that can be seamlessly managed, deployed and scaled.
For example, different models can be deployed to different regions. You can see
which regions your cloud supports with the juju show-cloud google command,
and create a new model hosted on us-east1 with the following:
juju add-model gce-test us-east1
Deploy an application
Applications themselves are deployed either as 'charms' or as 'bundles'. Charms are singular applications, such as Haproxy or PostgreSQL, whereas bundles are a curated collection of charms and their relationships. Bundles are ideal for deploying OpenStack, for instance, or Kubernetes.
It's also possible to write your own charms and deploy locally, or release via the Charm Store.
Deploying a charm is as simple as searching for your required application on the Charm Store, and using the 'juju' command to grab and deploy it automatically:
juju deploy haproxy
You can check on the state of any deployment, model or controller with the 'juju status' command. If you query the status directly after deploying 'haproxy', for instance, you'll something similar to this:
Model     Controller  Cloud/Region     Version  SLA
gce-test  mycloud     google/us-east1  2.3.1    unsupported

App      Version  Status   Scale  Charm    Store       Rev  OS      Notes
haproxy           unknown      1  haproxy  jujucharms   41  ubuntu

Unit        Workload  Agent  Machine  Public address  Ports  Message
haproxy/0*  unknown   idle   2        35.196.255.193

Machine  State    DNS             Inst id        Series  AZ          Message
2        started  35.196.255.193  juju-5b2986-2  xenial  us-east1-b  RUNNING

Relation provider  Requirer      Interface     Type  Message
haproxy:peer       haproxy:peer  haproxy-peer  peer
Use Juju's GUI
Juju includes a beautiful web interface. This allows you to perform almost all the same functions as the CLI, only without RSI. To launch the web interface in your default browser, type the following:
juju gui --browser
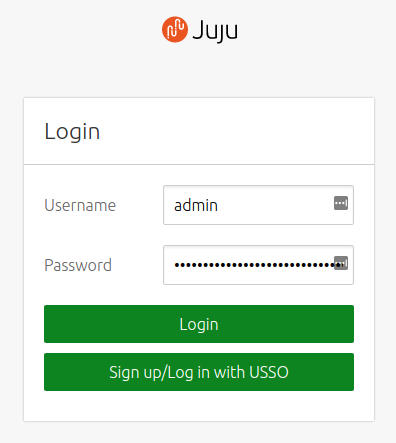
Then use the output username and password to connect to the GUI via your browser:

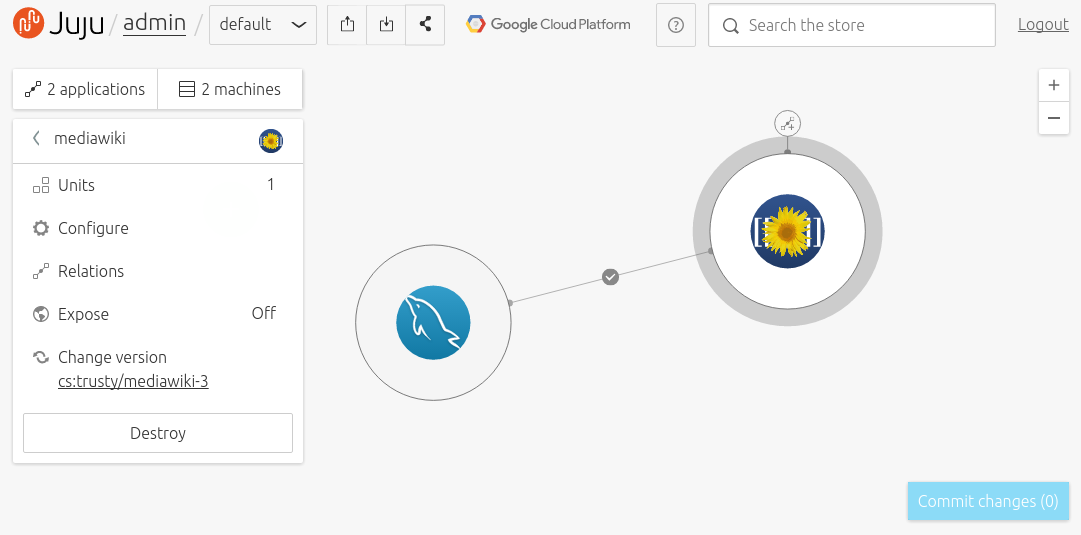
After logging in, you'll see the Juju GUI overview for the current model. Not only does the web interface show you the current state of your applications and their relationships, it allows you to manage your models, resources and machines, and deploy both charms and bundles.
For example, you can use the GUI to switch between the two models currently running on your controller - the default one we left empty and the new one we created for Haproxy. Look for the drop-down menu to the right of the user profile (which currently says 'admin'). In this drop-down list you should find both 'default' and 'gce-test' models, and selecting one will switch the current model.
To create a new model from the GUI, click on 'Profile' from the drop-down model list. This will open a more detailed list of the current models. A new model can now be created by clicking on the 'Create New' button at the top of the list, entering a name for the new model, and clicking submit. Click on 'Manage' for this model to return to the main view.
For more details on how to use Juju's web interface, take a look at our overview.
Deploy MediaWiki from the GUI
With the blank canvas of a new model created, we're now in a position to deploy MediaWiki.
From the GUI, this really is as simple as clicking on the link to the store and
searching for mediawiki. There are currently two results returned,
MediaWiki and 'MediaWiki Single'. The first result is MediaWiki on its own,
while the second result is a bundle which also contains MySQL and the required
pre-configured relationships to make MediaWiki work without any further
configuration. Select the bundle then click on 'Add to [MODEL NAME]' to import
the bundle into your model. Click on 'Commit changes' to review what's about to
happen and finally 'Deploy'.
Monitor the GUI as the applications are deployed to GCE and when each application's colour changes from orange to grey, you're all set.
Congratulations - you've just modelled and deployed your own scalable cloud application.

Next Steps
Now you can see how Juju makes it easy to model workloads, you are sure to want to share. Find out how easy it is to add users to your Juju controllers and models.